
24 Sep How to Take a Screenshot on Mac
Snapshots are getting popular especially due to increasing online practices such as YouTube tutorial channels and blogging. Since Macs are one of the most used computers these days, users ask for ways to capture screenshots on Macs so that they can easily share a scene on their screen with anyone. In this post, we bring some easy and quick ways to learn how to take a screenshot on Mac.
You can use a screenshot tool or do it in other ways since Mac offers many ways to take screenshots. We explain all of the workable and easy ways in the post.
Capture the Entire Screen
You can use your keyboard to easily do this with the Shift+Command+3 shortcut. The image you capture will be saved as a .png file by default.
Take a Screenshot of a Specific Part
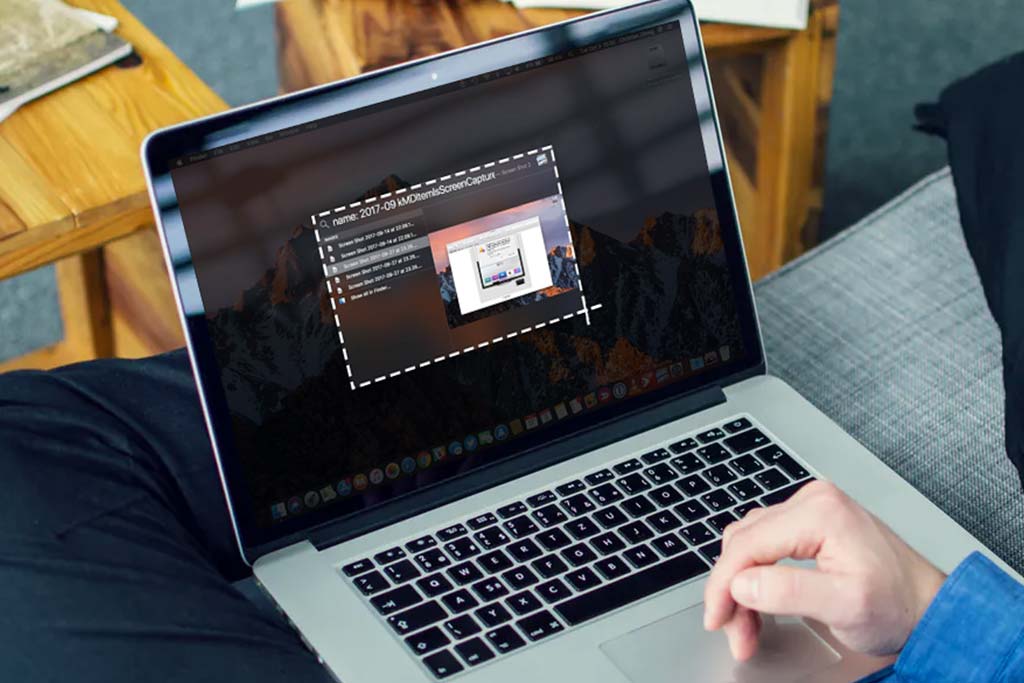
If you just want to capture a particular area on the screen, you can use Shift+Command+4 to change your mouse pointer to a cross-hair icon. Now, you can click and drag this icon to the area which you want to capture. Release the pointer when you’ve selected the area perfectly.
If you didn’t select the area perfectly, press the Esc key to cancel the selection before releasing your pointer. You can change the size, position, and shape of the selection area prior to taking the screenshot also. Simply press the Space bar or Shift before releasing the pointer.
Capture a Menu or Window
You can press Shift+Command+5ย to change the pointer to a camera icon. It will help you take a screenshot of a particular menu or window. Simply move this icon to the menu or window which you want a screenshot of. Release the icon to capture. You can also press the space bar to go back and forth a new menu and simultaneously capture a selection.
Capture the Touch Bar
To take a screenshot of the touch bar, all you need to do is press the Shift+Command+6 shortcut and your image will save in the .png file format.
Use a Screenshot Tool
In case you want to use a screenshot tool instead, you can do it easily by downloading and installing a screenshot tool from the App Store. Run the tool after it is installed. When it opens, click on the Launchpad > Other > Screenshot options to capture your screens. You can also use the Shift+Command+5 shortcut to do it quickly.
Some users prefer screenshot tools despite the fact that Mac manufacturers provide screenshot options by default. The reason is that tools come with some extra features such as recording videos. You can also set timers to capture your screen at your preferred time. Furthermore, custom selections are also very easy with screenshot tools.
You can also change the location of the screenshot saved on your computer. Simply, open your screenshot tool and go to Launchpad > Other > Screenshot > Options. Once done, click Save To and select a location where you want your screenshot from the next time.
No Comments