07 Apr How to Make a Slideshow on Mac Os Most Easiest Way
It feels so good to have your best memories alive always in the form of photos. What’s even better is turning these photos into a stylish slideshow that animates those lovely memories for you again. Thankfully, if you have Mac, you can easily create a slideshow using its default tool.
In this tutorial post, we will help you learn the easiest and most convenient way to make a slideshow on Mac.
Note: Although you can always use a third-party app for doing this task by installing it from the App Store, we have discussed only the default tool and a bonus way to create a slideshow on macOS computers.
Use the Default Mac Tool to Create a Slideshow
Macs are getting smarter with each new update and version. Even the previous versions also let you create stunning slideshows of your favorite photos.
To start making a simple yet stylish slideshow on your Mac, do the following:
Considering you have already made your mind as to which photos you’re going to use for the slideshow, all you need to do is first go to the bottom toolbar on the Home screen
Select Launchpad, an icon resembling a rocket ship
Head to the Photos app
Select the images you want to add to the slideshow (the first image is selected by simply clicking on it, and the subsequent ones, by holding the Command key on keyboard and simultaneously clicking each image)
Now, head to Files in the top toolbar and click Create > Slideshow > Photos
Once these photos are added to your slideshow, you will be asked to give this slideshow a name. Enter and name and click Ok (Note: This name will show up in the starting of the slideshow, so, we recommend changing it from the default name that your Mac has already selected for it)
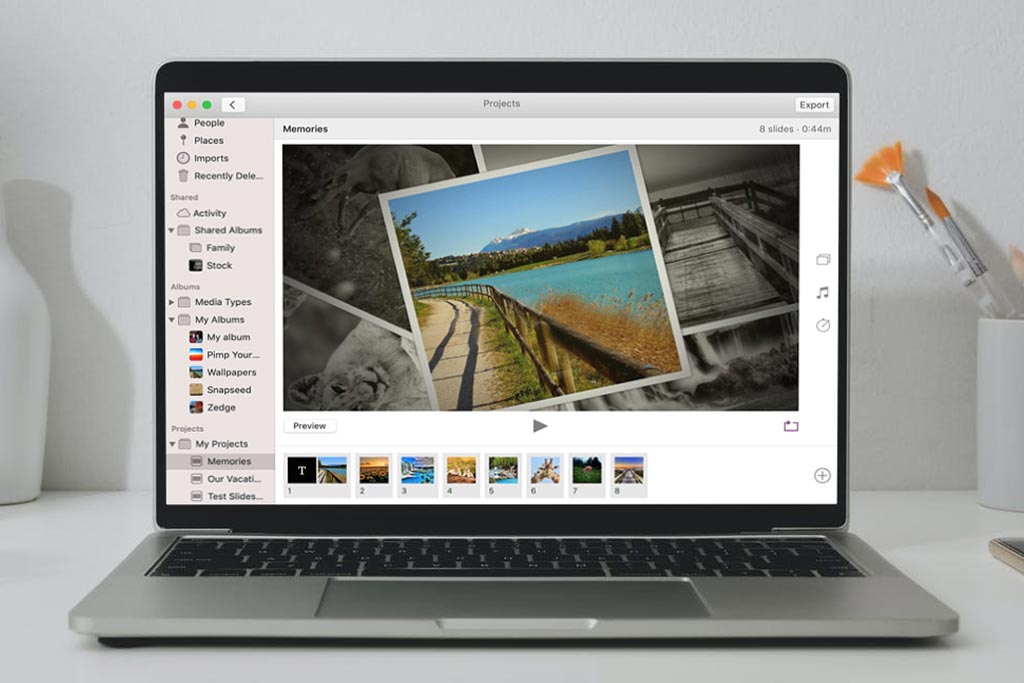
You can make your slideshow more fun by adding music, slide transitions, changing the theme, etc. All these options are available in the right of the slideshow editor screen
If you want to reorder the position of the photo, simply drag and drop them in the desired sequence
Once you’re satisfied with your slideshow, finalize it by clicking Export. Here, you need to provide your desired location where you want to save the slideshow (Note: In case you forgot to provide a location or was in hurry, you can access this saved slideshow from the Photos app > My Projects)
How to Access Instant Slideshows (Non-Customizable) on Mac
You can also play instant slideshows as well on the default Photos app on your Mac. However, this isn’t customizable.
All you need to do is simply head to the Photos app and click Photos > Moments. Select your photos and click File > Play Slideshow
Create Slideshows Online on your Mac
As we promised, we’re also discussing steps on how you can create slideshows online on your Mac, in case you want more convenience in sharing your slideshow with other desktops and devices.
You can use the popular cloud platform of Google for this: Google Slides. Access this feature in Google Drive.
All you need to do is open Drive > New > Google Slides
The only tiring thing here is that you will have to upload each photo to the drive to make a slideshow online. However, after that, you can use these images to make different slideshows whenever you want and share the file from anywhere to any device. It’s safer because your slideshow will remain on the cloud always until you delete it yourself.

No Comments