08 Feb How to Downgrade Your MacOS
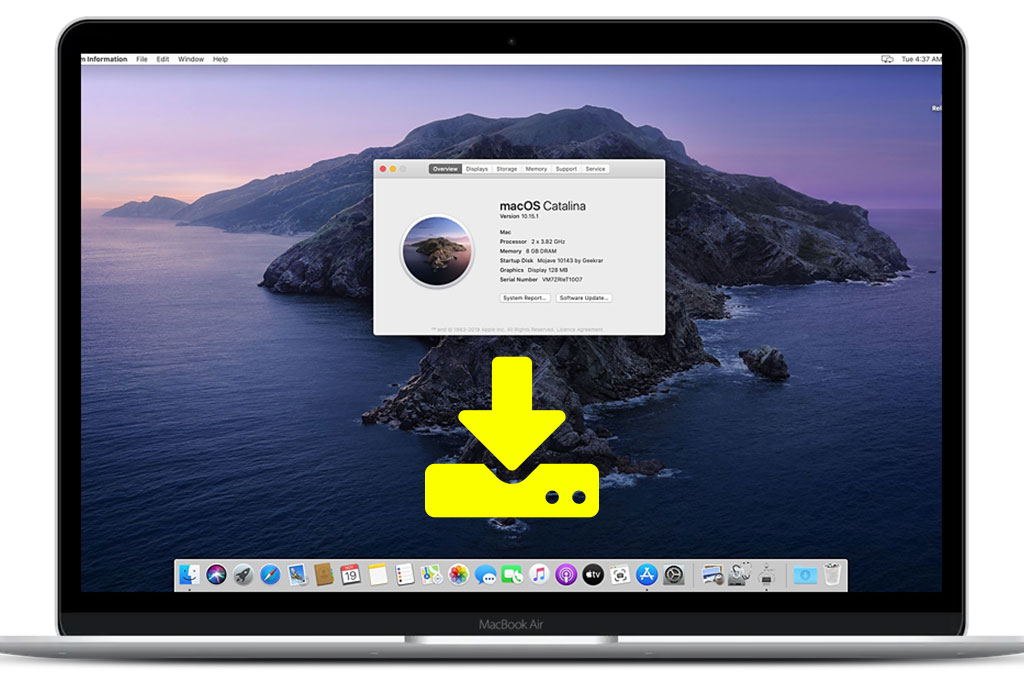
No one likes stagnation; this is why macOS developers (just like others) keep bringing new version to table quite frequently. While it’s always good, and even recommended, to upgrade to the latest version of your system’s OS, sometimes this new one turns to be faulty and causes issues on your device. In that case, you need to downgrade to the older macOS.
Here, we tell you three ways by any of which you can easily get back to your previous macOS on your own.
Important: Before jumping to the main process, back up your data. This is something you must do whenever tweaking an important setting on your device. So, make a backup of your hard drive and the important data stored somewhere else, in case anything goes wrong during or after the downgrade process.
Start Downgrading macOS Three Different Ways
Use macOS Recovery to downgrade macOS
Macs come with an in-built tool called macOS Recovery to help you get back to the older version. All you need is strong internet connectivity to make sure nothing interrupts the process. Once you have backed up your important data, do the following tasks:
- Shut down the Mac properly
- Switch it on by simultaneously holding Shift + Option + Cmd + R and wait until the computer completely starts. It will take a longer than usual time to boot with macOS Recovery
- Once the screen shows up, click Reinstall OS X or Reinstall macOS
- Hit Continue
- Follow the screen instructions and click startup disk
- Hit Install
- Follow the prompts until to finish the installation process
- When it’s complete, restore the backed-up data
Use a Time Machine backup to downgrade macOS
If you have a backup of your data on an older macOS version, you can use that Time Machine backup to downgrade to that version of your Macintosh. It’s very easy just like the previous step we mentioned above.
- Connect your Time Machine drive with your computer (i.e. the drive on which you have your backup stored)
- Switch it on while holding Cmd + R
- When macOS Recovery opens, click the option that says: Restore From Time Machine Backup
- Hit Continue
- Again, click Continue on the next screen
- Choose the resource source you want; meaning the backup drive that you have connected with your Mac
- Next, click the backup you created on your previous (or any old) macOS version
- Follow instructions and wait while the backup and your previous macOS reinstall
Use an old macOS Installer to downgrade macOS
On older versions before macOS Mojave, you could downgrade easily through the Mac App Store. So, if you have any older versions on any device nearby, you can download an installer for you and transfer it to your Mac. Here’s how to do that:
- Connect the USB on which you have the installer downloaded and transferred from an older macOS device
- If you have downloaded and transferred the installer on your iCloud, you can open your account on your current (targeted) device
- Go to Finder > Applications > Utilities > Disk Utility
- Open View > Show All Devices
- On the page’s left-side menu, choose your root drive
- Hit Erase
- Now, restart your computer by simultaneously holding Option
- When the Startup Manager shows up
- Choose the drive that you have just created
- Hit Install macOS
- When the process is complete, restore the backed-up files
Be mindful, that downgrading your macOS can lead to speed and security issues on your Mac. So, decide to do this only if your new version is faulty. To keep your Mac’s speed issues perished from time to time, have Mac Optimizer Pro installed on the system. It will keep running in the background and on seeing a performance-sapping issue, will remove it instantly.

No Comments